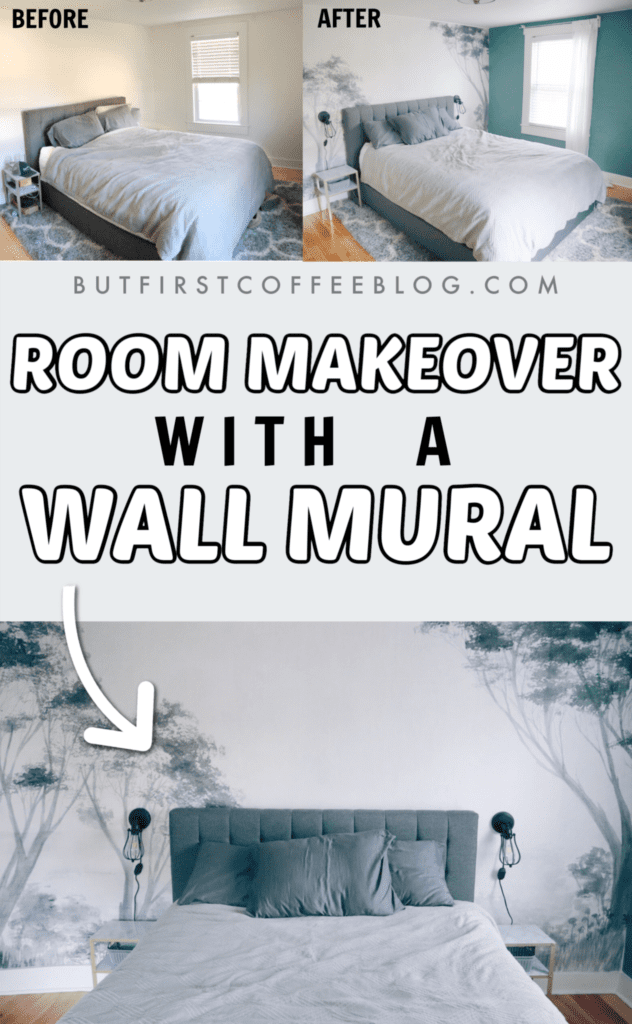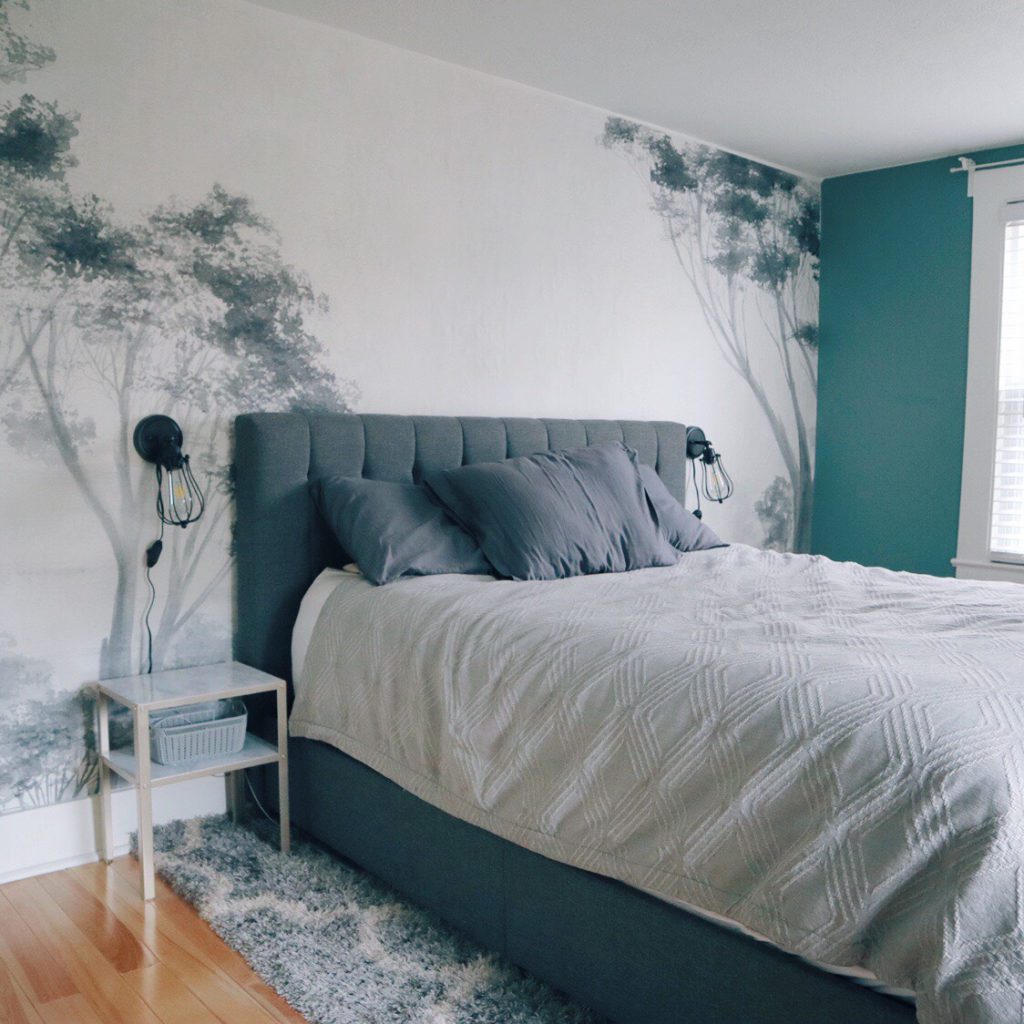

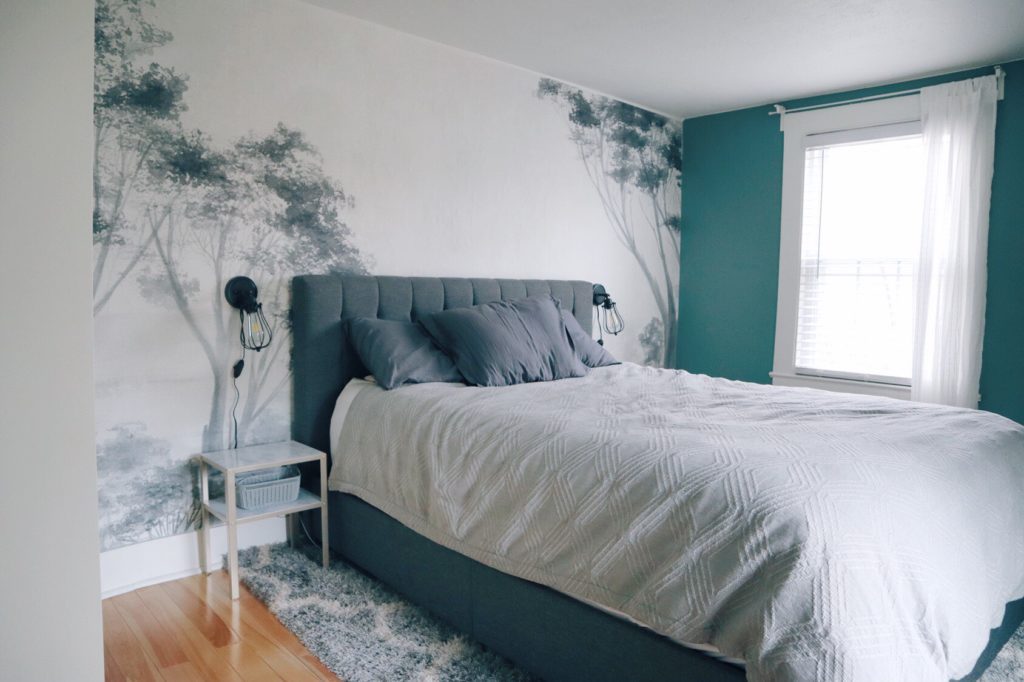
Our bedroom was in need of a little love. It’s was pretty bare and sad. Nothing hanging on the walls. No color.
I decided I wanted to do a mural on the back wall because we don’t really have a ton of art to hang in this room. A mural is art itself and is great in a room where you don’t have much to hang.
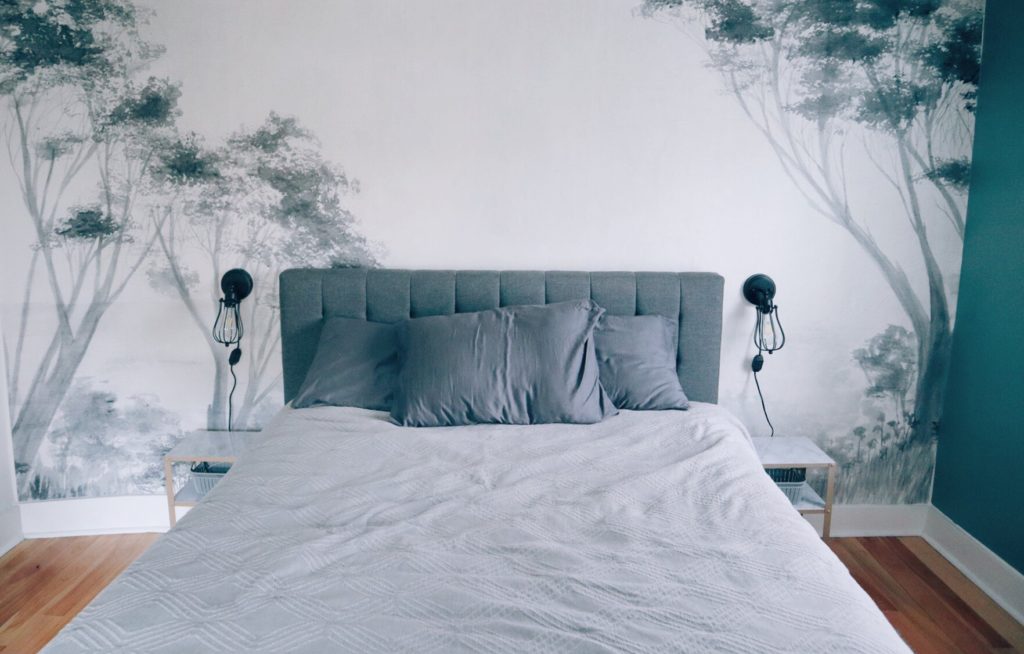
I’ve never done a large scale mural like this, so I was definitely feeling intimidated, but it was actually really simple. We got our mural from Photowall who was nice enough to gift it to me and offer a discount code to you all. The code butfirstcoffee2020 will get you 25% off through April 14th, 2020.
The mural comes in strips like a wallpaper would. I was definitely nervous about being able to match it up correctly. I feel like with many designs you have some room for error, but a mural felt very precise. The installation tips from Photowall made it super simple, and honestly, it wasn’t that hard at all.
Tips for Adding a Wall Mural
- Get the first strip perfect. Since a mural requires everything to match up the entire length of the wall, the first strip needs to be on the wall just right, and then all the rest will follow. Our house is older and not every wall is perfectly level. So, I didn’t use my wall or ceiling as the guide but instead used a level and marked out a perfectly level line to lay the first strip up along.
- Have a friend. You definitely could do this alone, but it’s a lot easier with a pal. Someone can pass the strip up to you and they can work on smoothing the paper while you move on to the next step of laying the wallpaper paste.
- Have all the tools. Photowall offers a little “installation kit” that I highly recommend because it comes with everything you need to hang wallpaper (the paste brush, level, pencil, Exacto blade, smoothing brush, etc.) And don’t forget butfirstcoffee2020 will get you 25% off through April 14th, 2020.
- Do it all at once. Make sure you’ve carved out a space of time for your mural because you’ll want to do it all in one sitting. The paste stays tacky for a little bit, so it’s helpful to lay the whole wall then go around the top and bottom to remove excess. At that point, you’ll still have some time to pop a little paste here and there for any corners that might not be laying just right.
- Just relax. I’m not a professional wallpaper installer. You aren’t a professional wallpaper installer….at least I don’t think you are. So, point is, we’re not gonna get it perfect the first time. But let me let you in on a little secret...literally no one will notice your little mistakes.
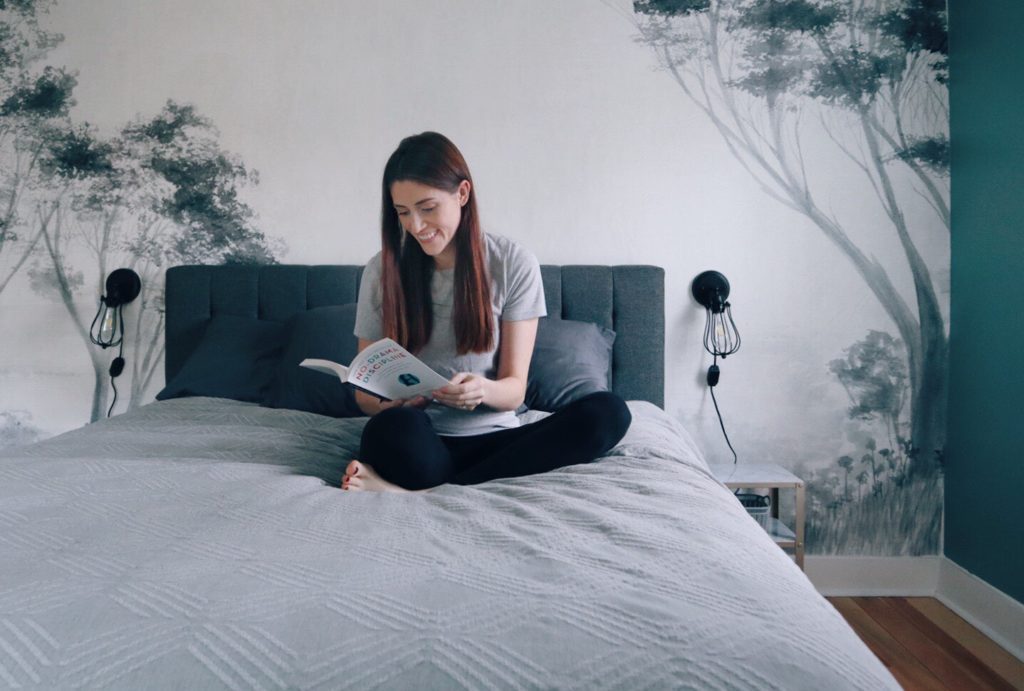
I’m SUPER happy with how it came out. It instantly made this room feel so happy and loved. It’s not just a great alternative to a room you don’t have art to hang in, but a great way to make any room feel “done.” I know sometimes we struggle to decorate a room because it feels like such a big task. That’s why I love this mural because it took only about 90 minutes and made such a big impact.
Products used in this room:
Wall Mural – Photowall. butfirstcoffee2020 will get you 25% off through April 14th, 2020.
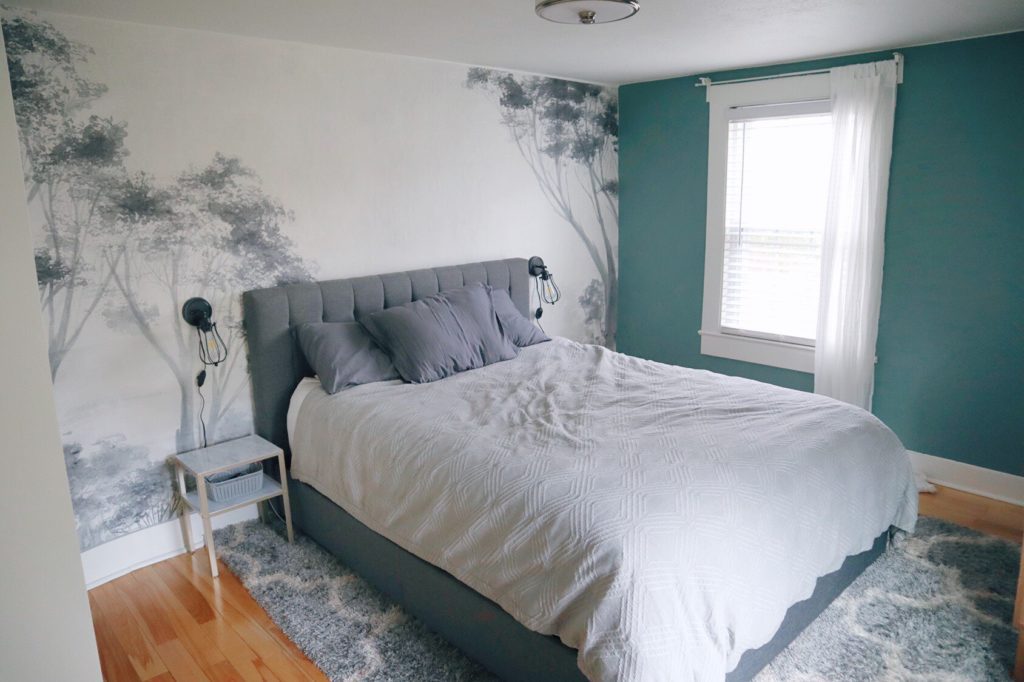
Teal Paint – Clare Paint in “Make Waves”
Curtains – The rods need to be replaced still, these are $2 placeholders until I find the ones I want. The curtains are from IKEA.
Rug – Marshalls, similar here.
Nightstand – IKEA nightstands I upcycled, DIY post coming next week.
Wall scones – I got the set of 2 on Amazon.
Bed – Wayfair
Bedding – Old from Target. We’re replacing this next week with a proper matching set.