While I share DIYs over on my YouTube channel A LOT it’s been a while since I shared any here on the blog! But, I knew these farmhouse inspired DIYs were something you all would love!
Personally, I don’t really have a “home decor style.” Mix together modern, mid-century, farmhouse, eclectic, and straight-up random and you’d get my decor style. I just buy things I like or that have meaning or I think are beautiful and that’s what becomes my style. So, while my style isn’t exactly Fixer Upper farmhouse chic, I do still like incorporating in some farmhouse style. ESPECIAllY in the fall!
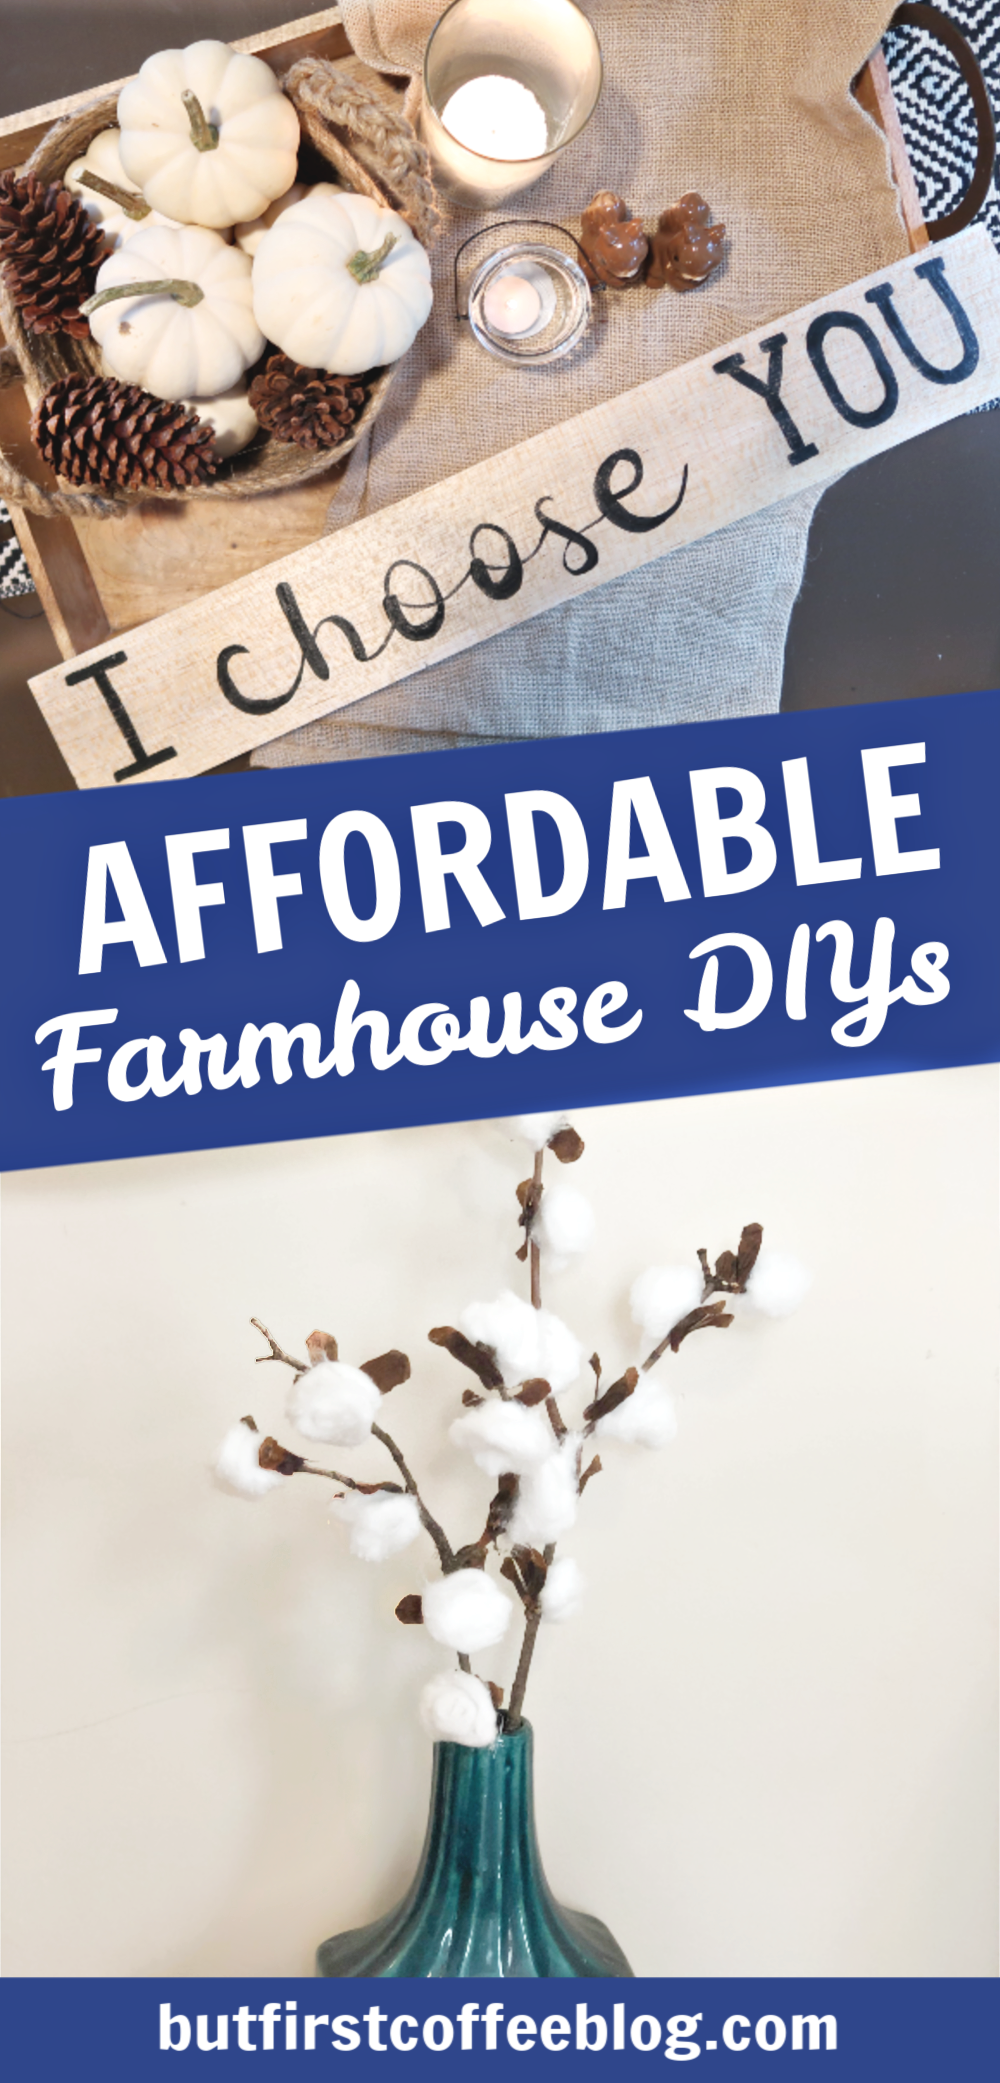
I had a ton of fun creating these three super easy SUPER affordable farmhouse home decor DIYs, I just had to share them!
I created three simple DIYs, and you can see how to recreate them all in the video at the bottom of this post.
What I love about these farmhouse DIYs, besides the fact that you can do them all for about $0-$10, is that they are 100% customizable, so you can really make it just how you want it for your home and your space you want to use it in.
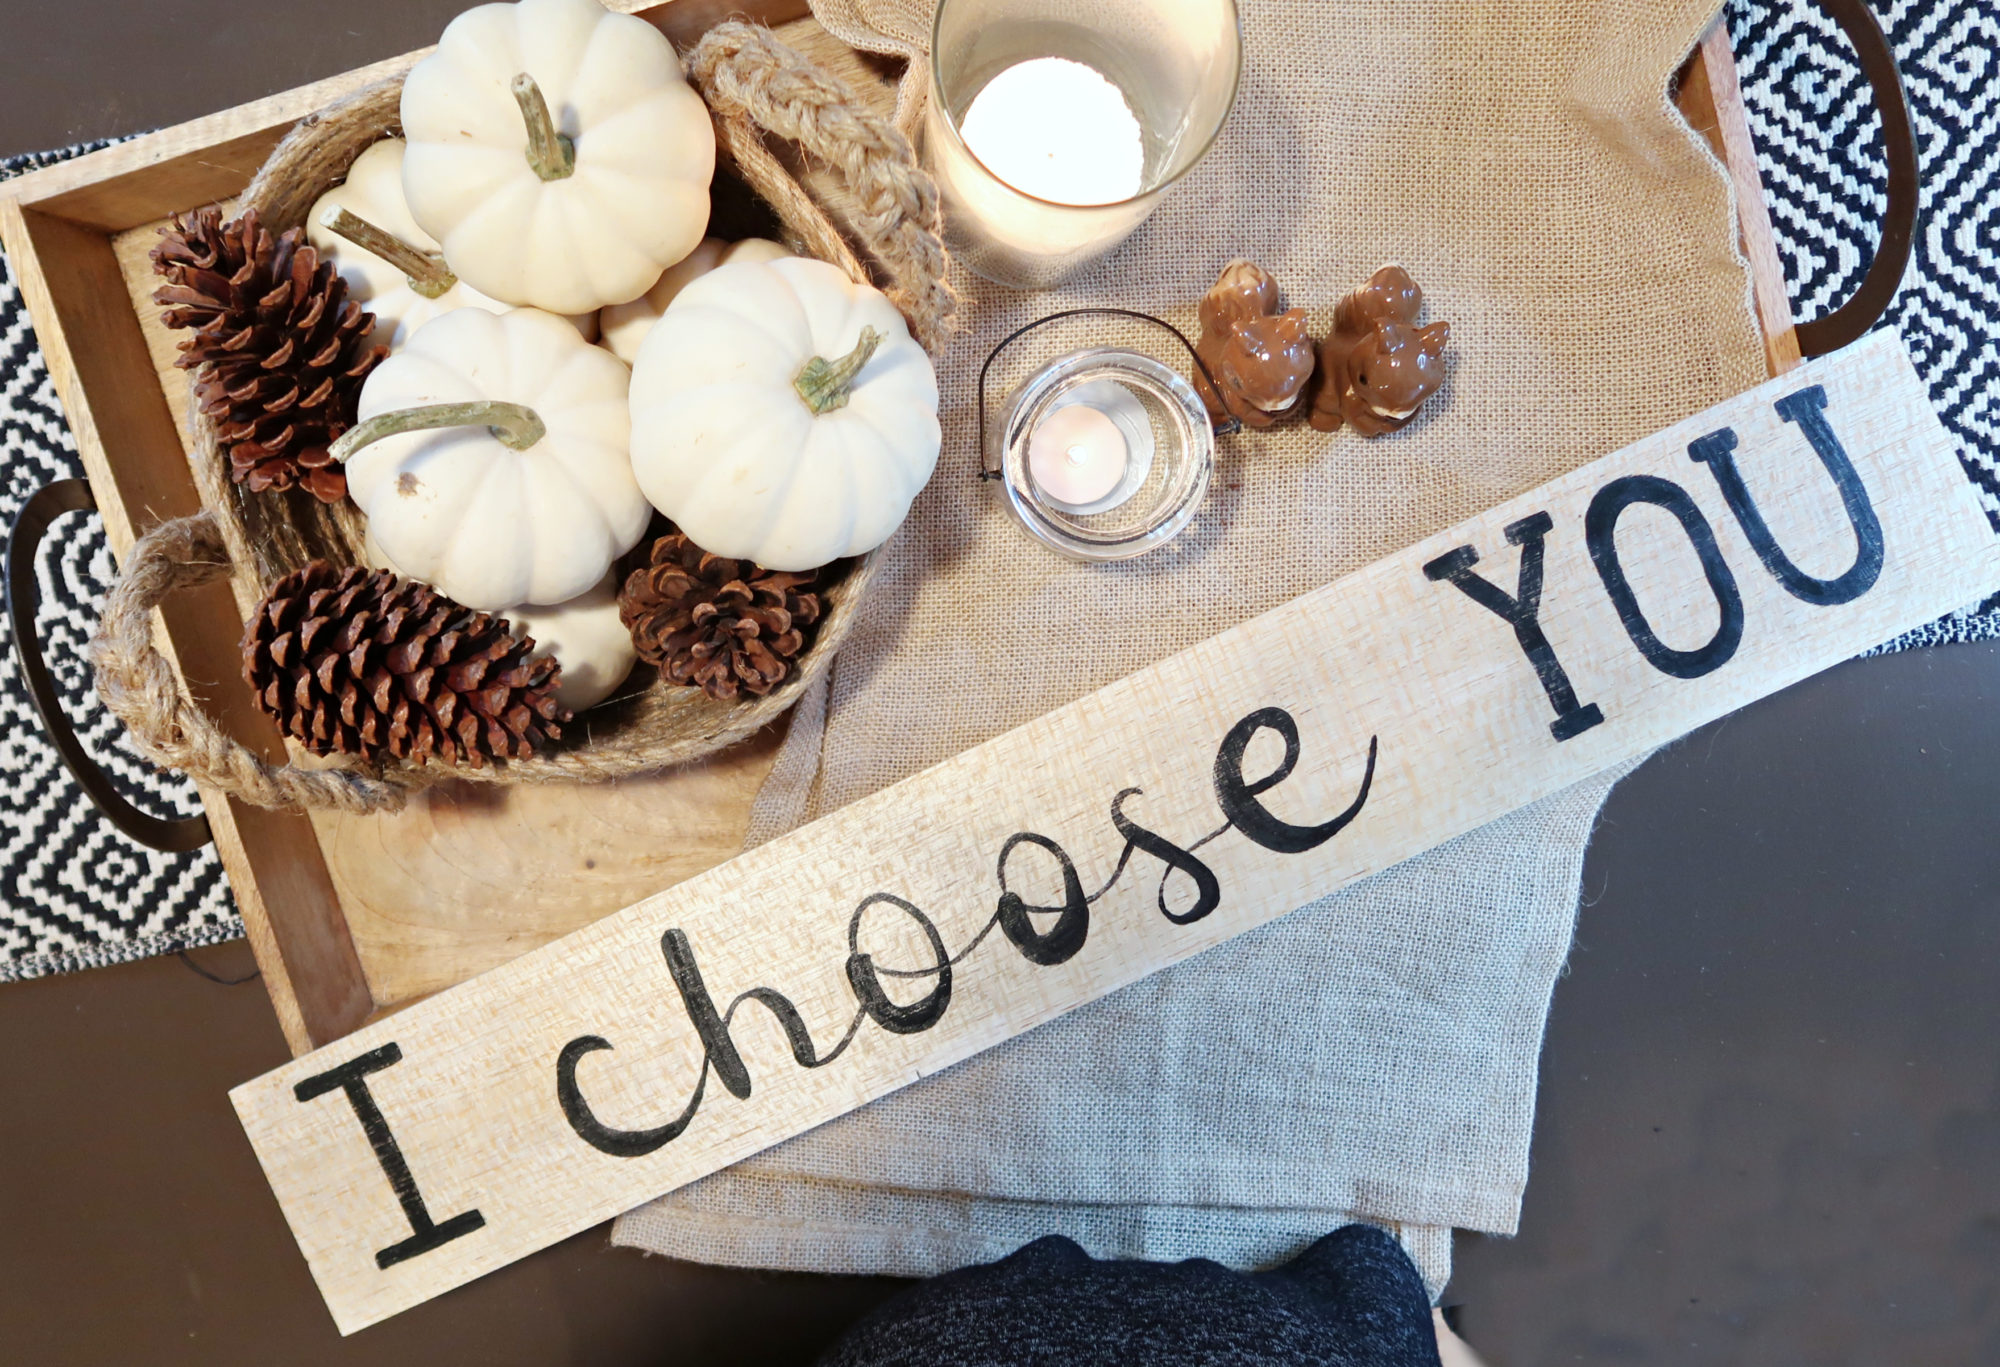
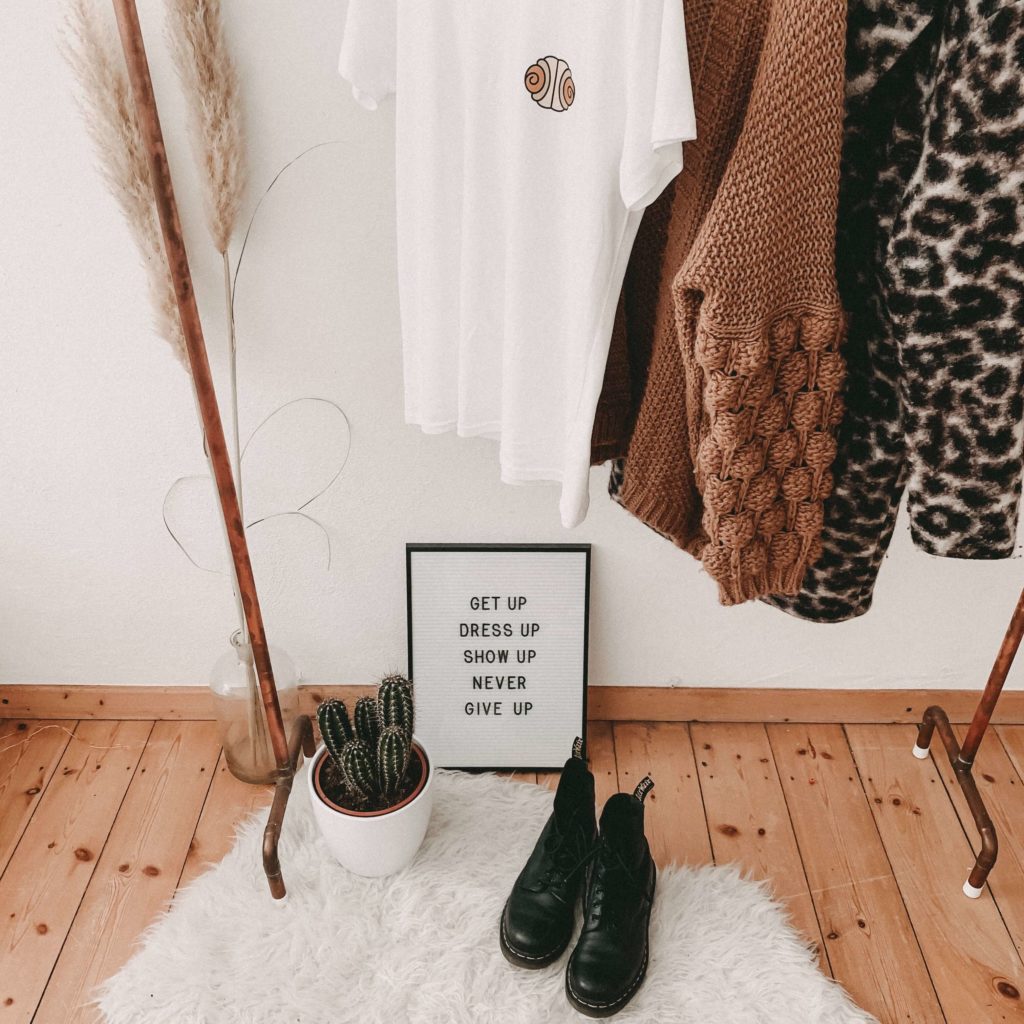
Farmhouse Market Sign DIY
You’ll Need: I piece of wood (you can use craft wood or get a piece cut at your hardware store), black acrylic paint and a cheap paintbrush, a pencil, whatever text you want to transfer onto the wood (printed out on paper), sandpaper (optional), clear varnish (optional)
Step 1: Print whatever text you want to transfer onto your wood out on paper (or handwrite it like I did). Flip the paper over to the backside and color in anywhere that there is text on the right side with a pencil. Essentially you’re making a DIY transfer paper.
Step 2: Flip the paper back over and place it onto your wood where you want it to be. Using your pencil, trace over the letters using medium pressure – this transfers the lead from the pencil you put on the backside of the paper onto your wood. You’ll be left with a faint outline of your text transferred onto the wood!
Step 3: Using the black paint, carefully fill in the lines, painting the wording onto your wood. (Optional: once dry, run sandpaper over the words to distress it slightly and give it a more rustic look.
Step 4 (optional): Paint one coat of varnish over the top of the entire thing to seal into place and finish the wood.
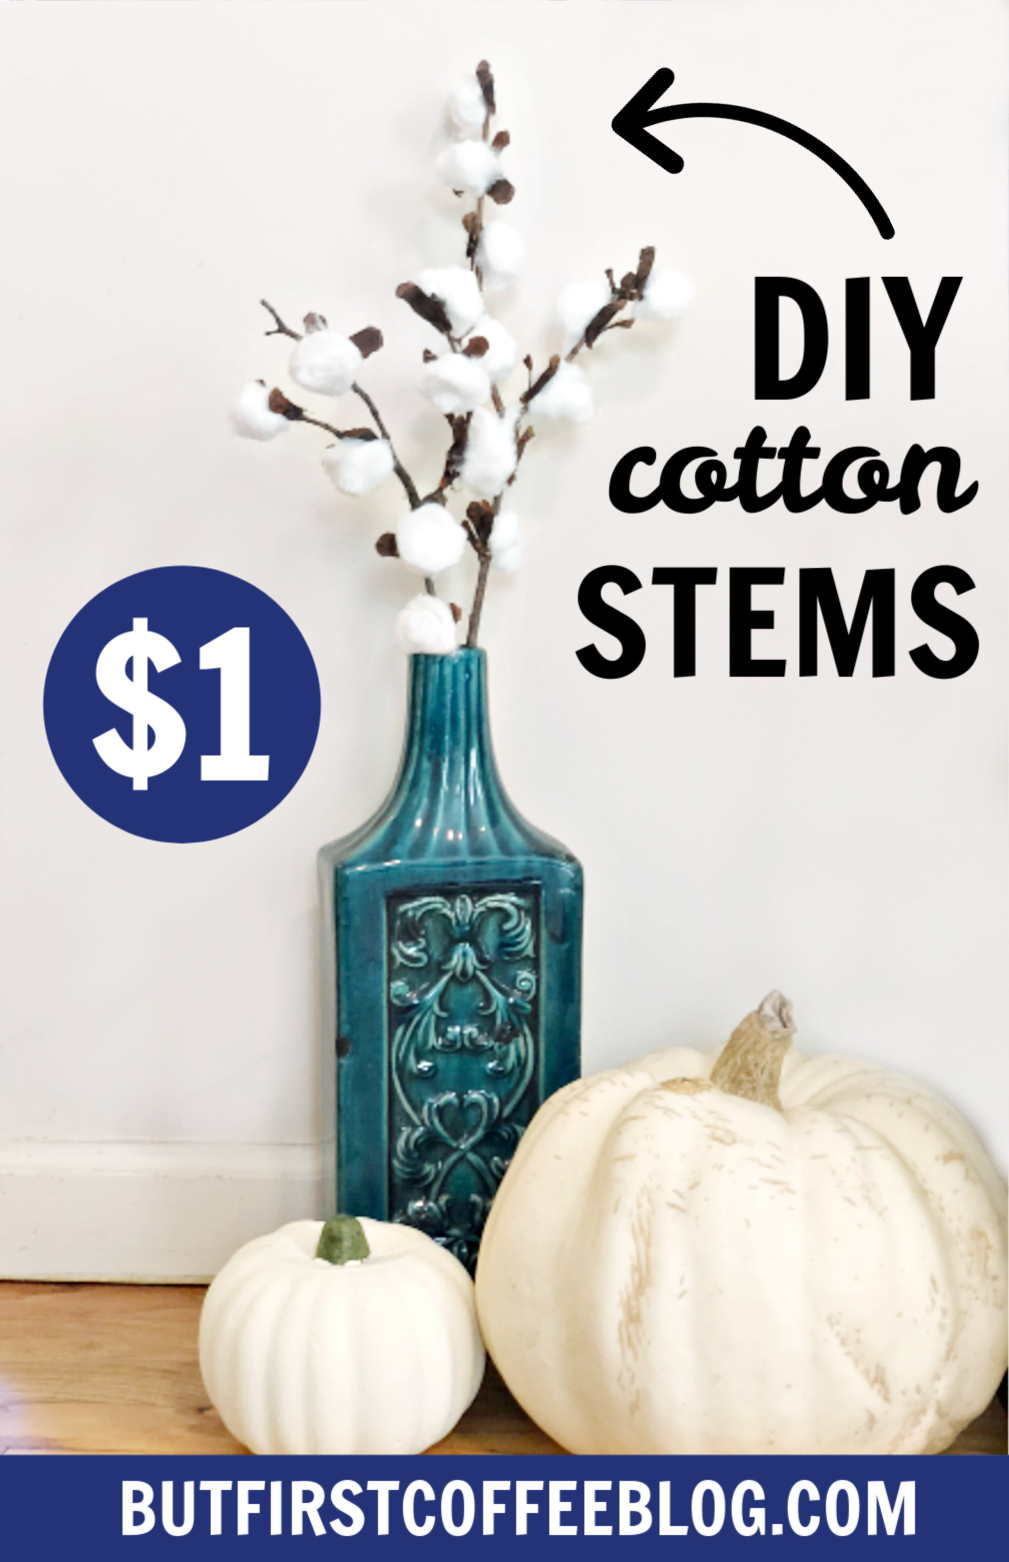
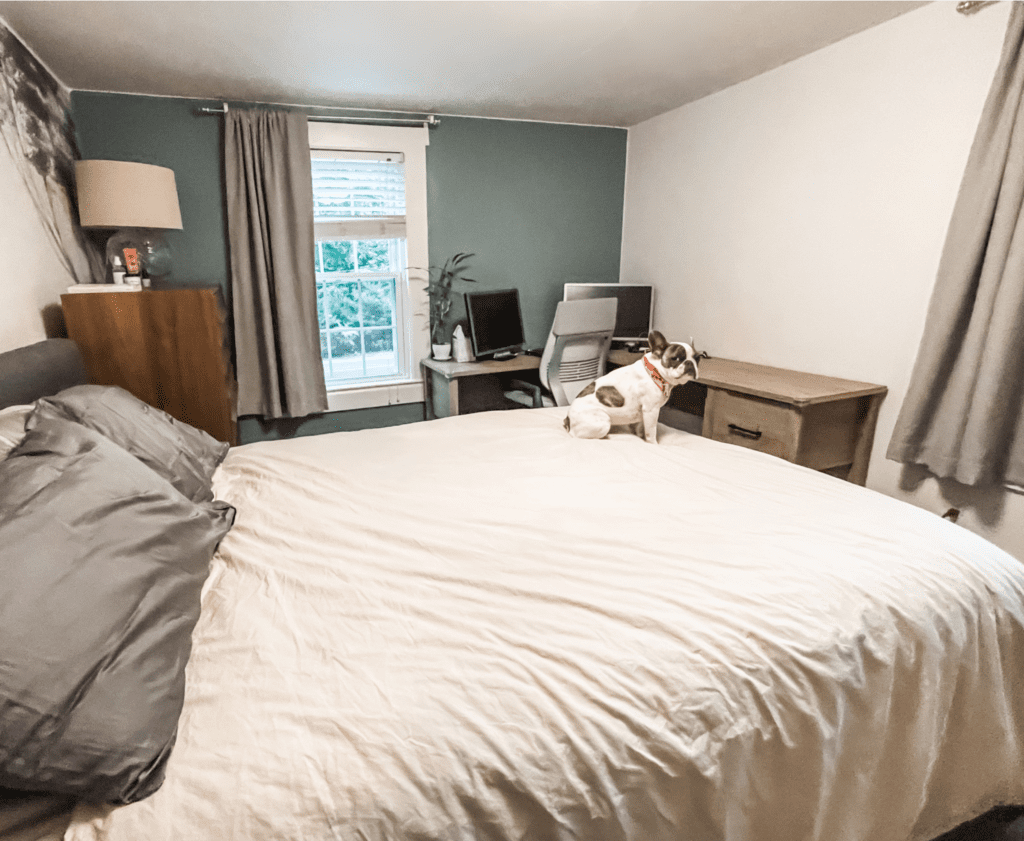
DIY Cotton Stems
You’ll Need: Some sticks (just grab some outside!), a pinecone or two (again you can find these for free outside!), and some cotton balls
Step 1: Pull the cotton balls apart a little to make them look undone. If they are jumbo cotton balls, you may need to remove some of the cotton so they aren’t too large.
Step 2: Hot glue the cotton balls onto the branches. I focused on the twigs, but you can go down the branch a little too. I looked at images of cotton stems while I did it as a reference.
Step 3: Peel some of the leaves off the pinecone (it’s easiest to start at the bottom). Then using 2-4 of these per cotton ball, you’ll hot glue them on to the bottom of the cotton ball. Think about covering up any of the showing hot glue with these pinecone leaves.
Looking for some more farmhouse decor and DIY Inspo?
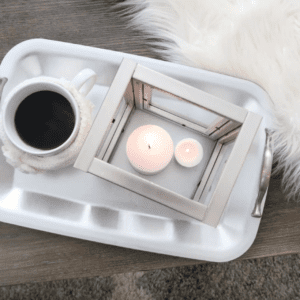 5 SUPER COZY DIYs FOR FALL AND WINTER
Make these cozy DIYs using products from the Dollar Tree!
READ MORE
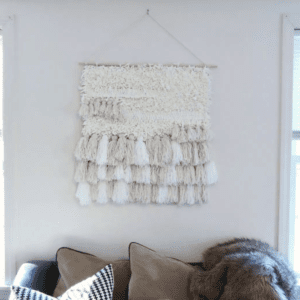 DIY YARN WALL HANGING
Make your own impressive yarn wall hanging for a fraction of the price.
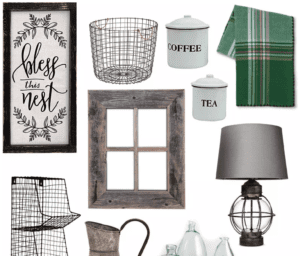 THE BEST FARMHOUSE DECOR UNDER $50
Get the farmhouse style for less with these pieces.
READ MORE