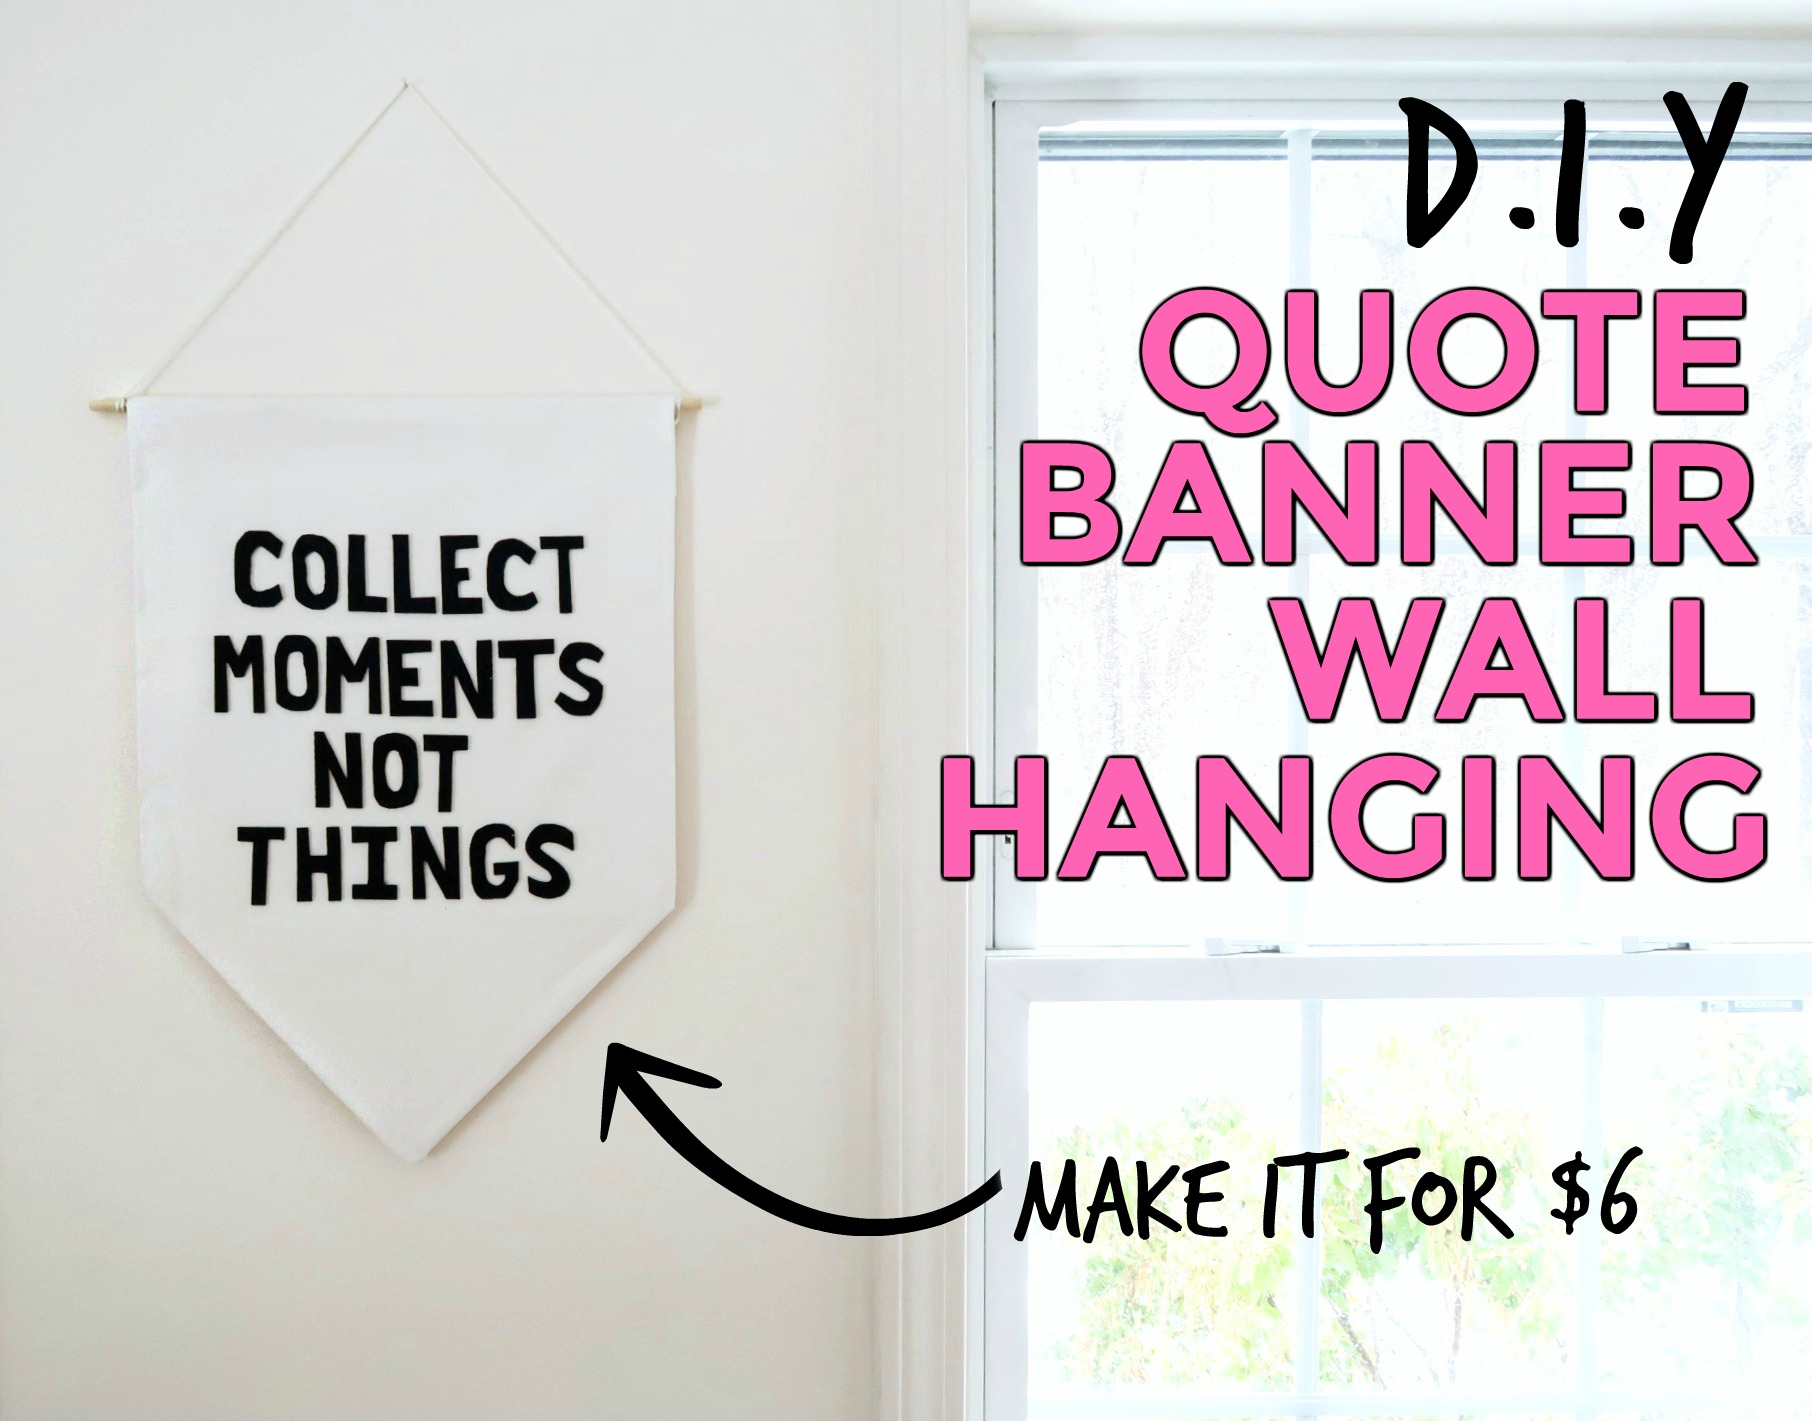
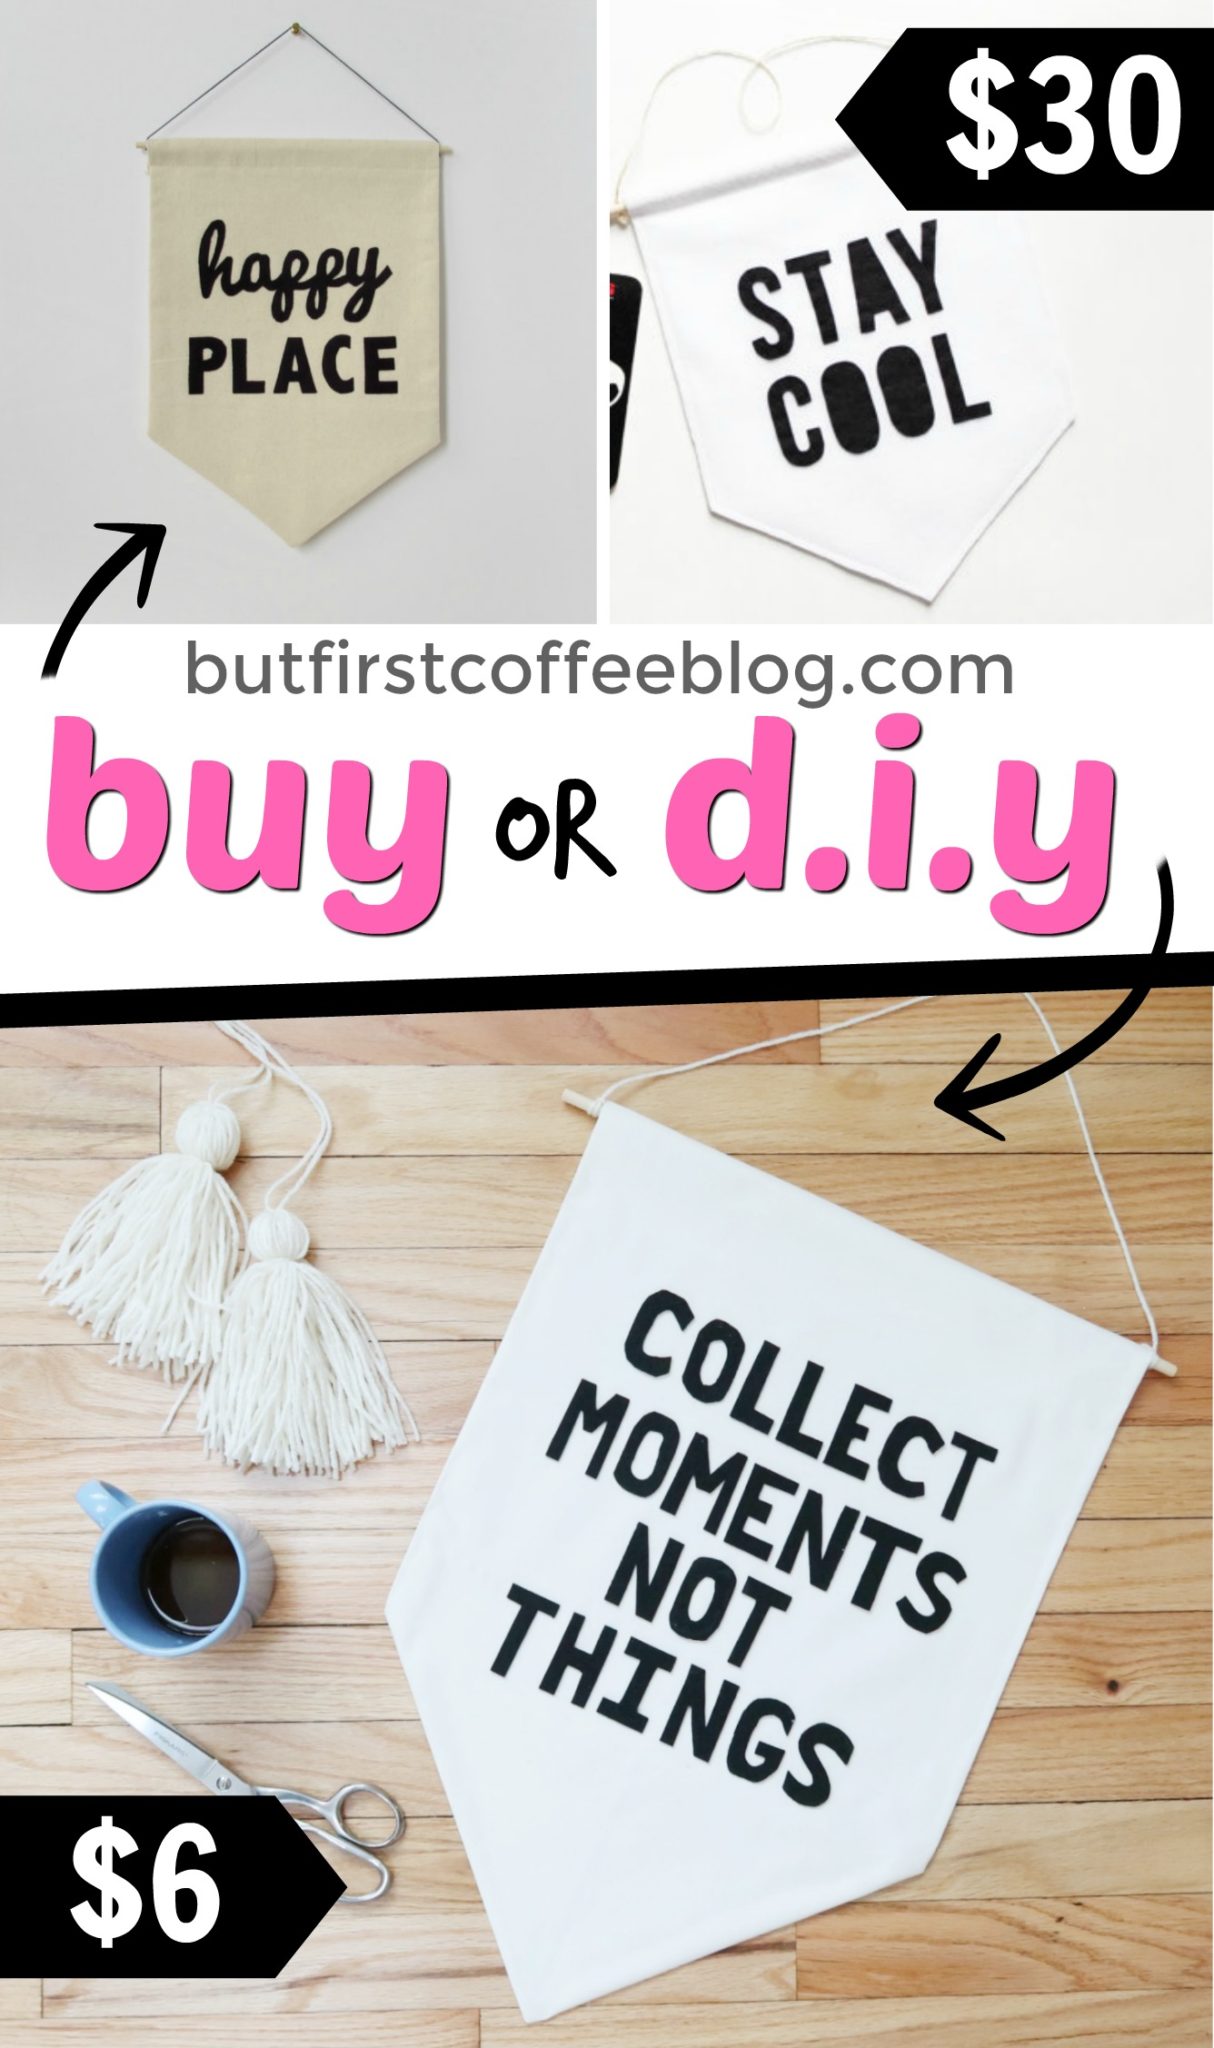
Time for another Buy or D.I.Y friends! If you’ve been on Pinterest, Instagram, or any form of social media for the past two years you’ve seen your fair share of wall hangings and banners. My Pinterest boards have so many of these I’ve lost count. But, when I was ready to get one for my house I was like….but $30? Why you gotta be like that?
You know what I’m gonna say next. I could make that for less! And I sure did. I was able to recreate my own for only $6! Let me show you how I did it.
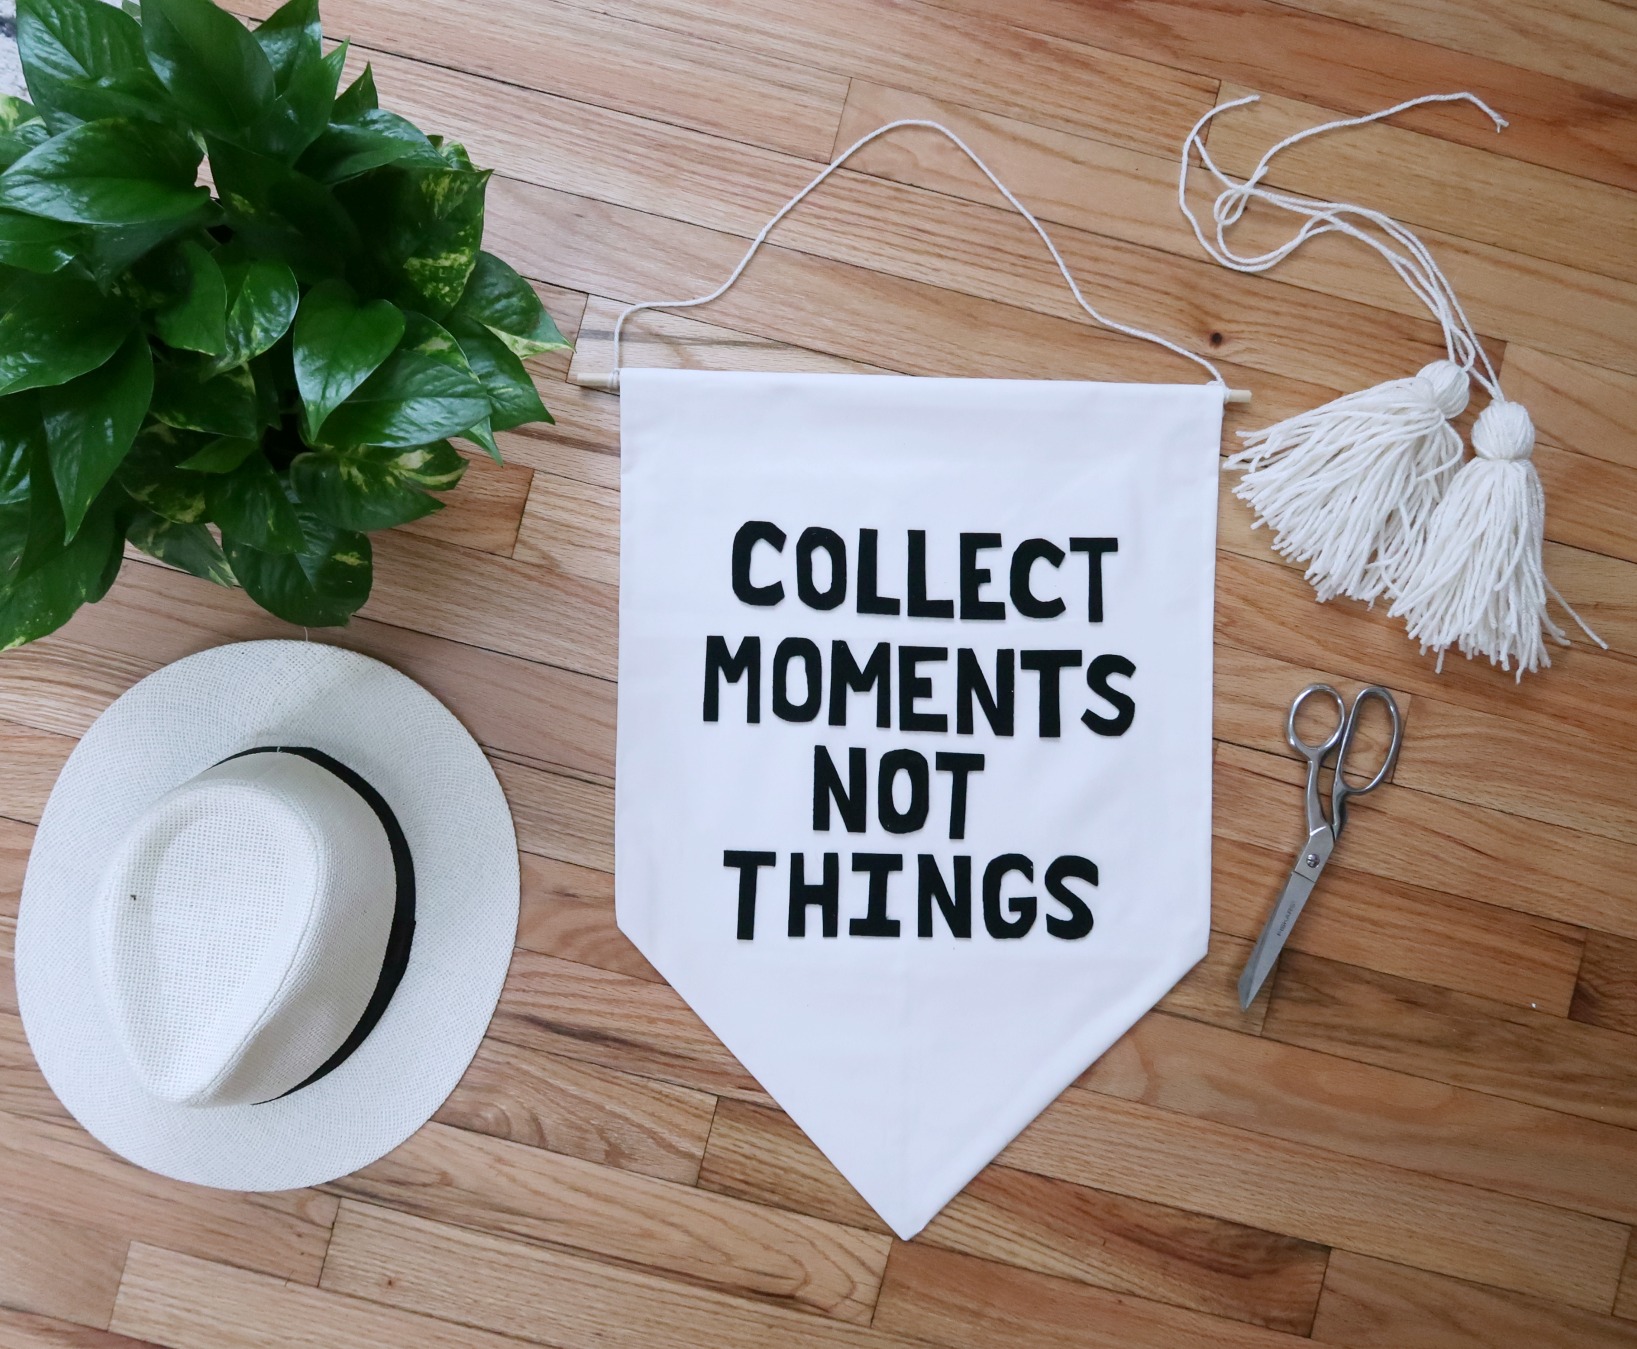
DIY Banner Wall Hanging | What you’ll need
Here’s a breakdown of everything I got. It came to just over $6 to make.
-Black Felt (or any color you want), one sheet – I got mine at Jo-Ann Fabrics for $0.49/each
-No Sew Fabric Glue – I used this one for $3.40
-Plain Fabric – pretty much any will work: canvas, muslin, cotton. I went to the “fabrics end” bin at my craft store (this is where they put the ends of fabric rolls at a discounted price) and got a piece for $1.90. You need less than 1/2 yard
-Scissors
-Chalk (or something to mark the felt with)
-Wooden Dowel – you can buy these for about $0.49 a piece
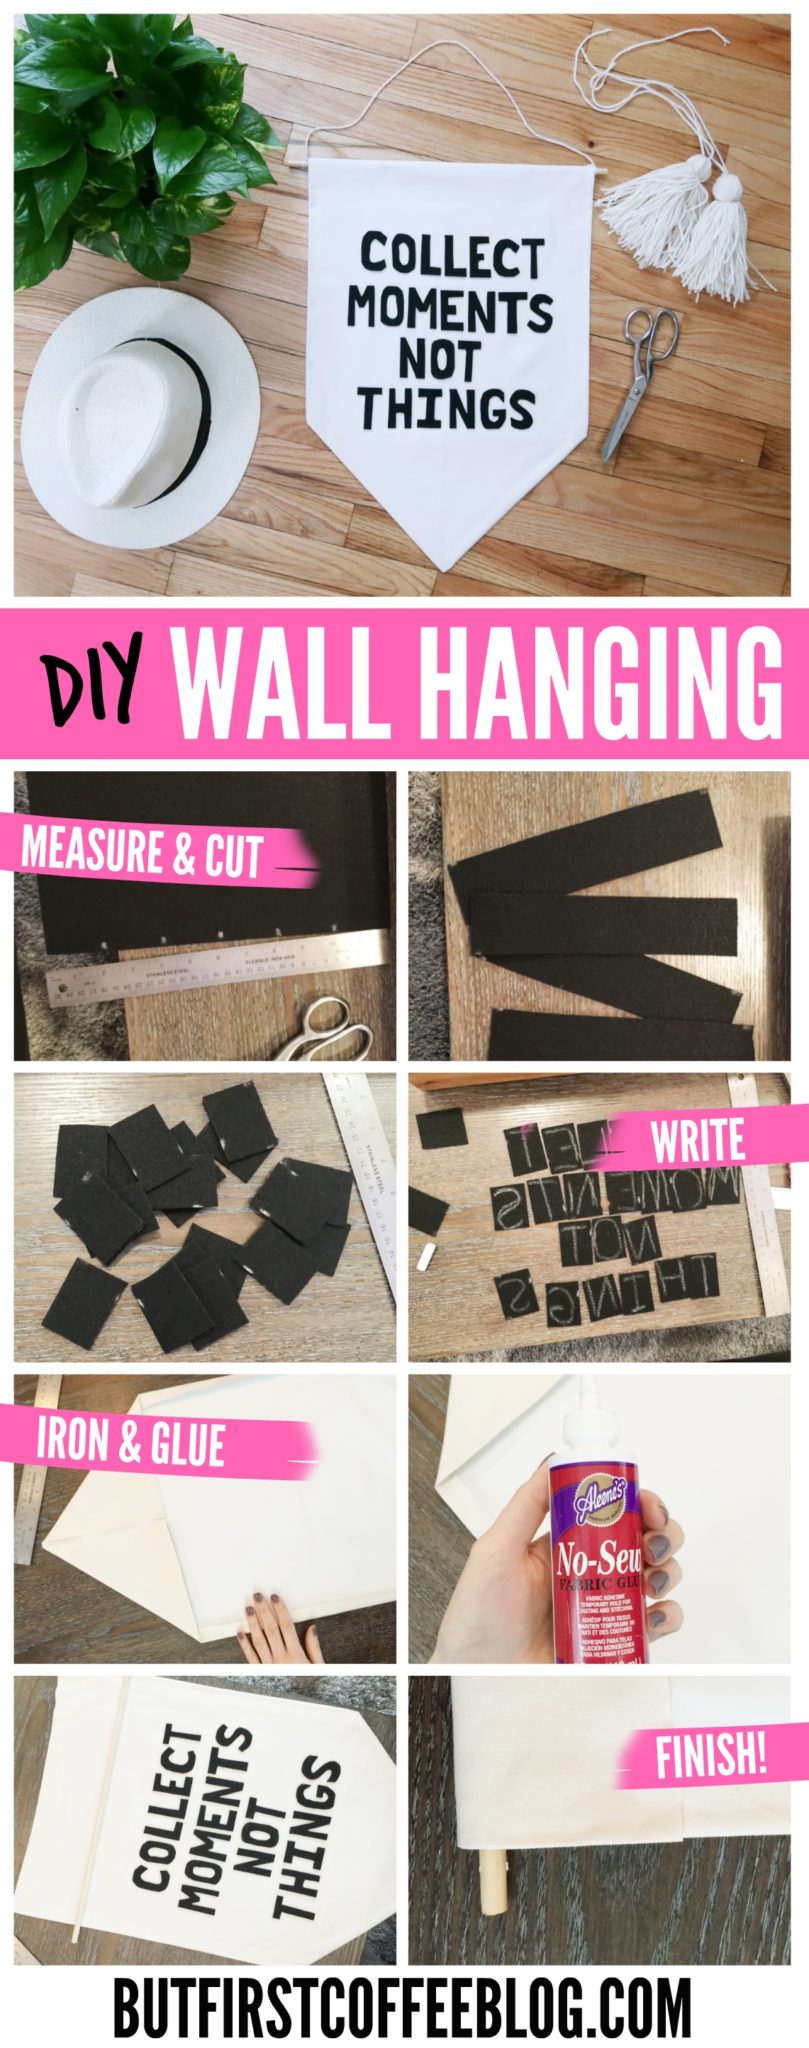
1. Start by measuring and cutting strips of equal sizes. This depends on what size you want. For the one, I did I used 1-1/2 inch as a height. Then cut the felt pieces width-wise. I ended up with equal squares that were 1 inch by 1-1/2 inches.
2. Sketch out each letter for your quote on these squares using a piece of chalk. You’ll want to write the letters backward on the felt. You’ll do this so that when you cut them out the marked-up side is on the back.
3. Cut out a piece of the banner flag fabric. I laid my letters out and gave myself one extra inch on each side lengthwise.
4. Using an iron, fold over the raw edges and iron flat. Use the fabric glue to glue these edges down.
5. On one end, fold the two corners in to create a triangle. Glue into place.
6. Glue each letter into place.
7. Fold the top piece in and glue, leaving a space to thread the wooden dowel through.
8. Tie yarn on either end to hang.
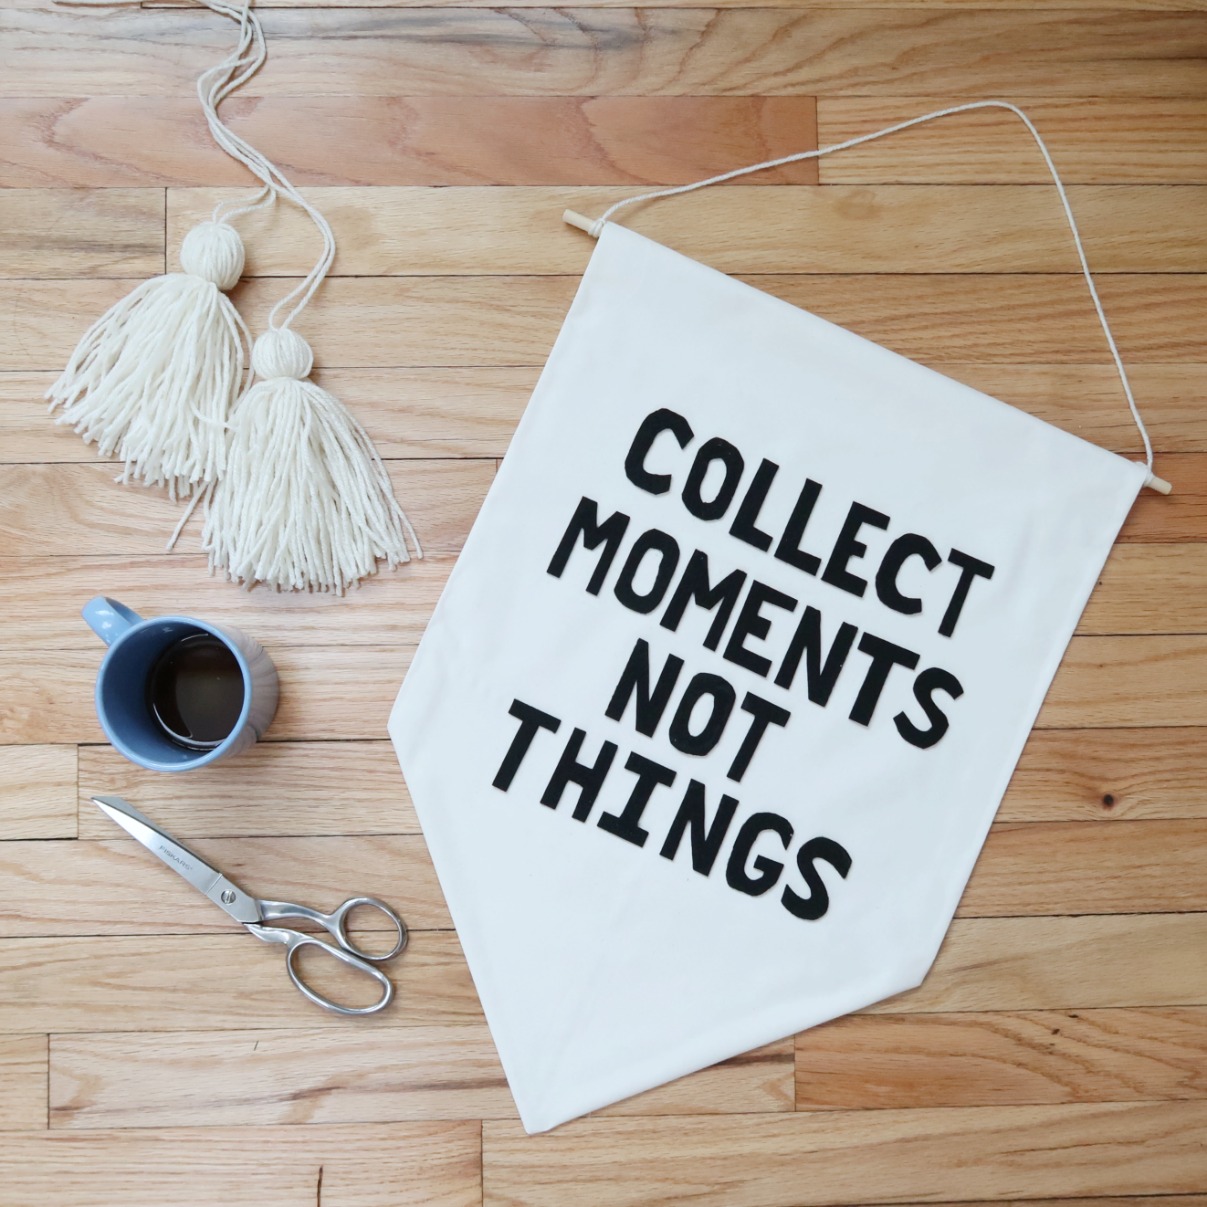
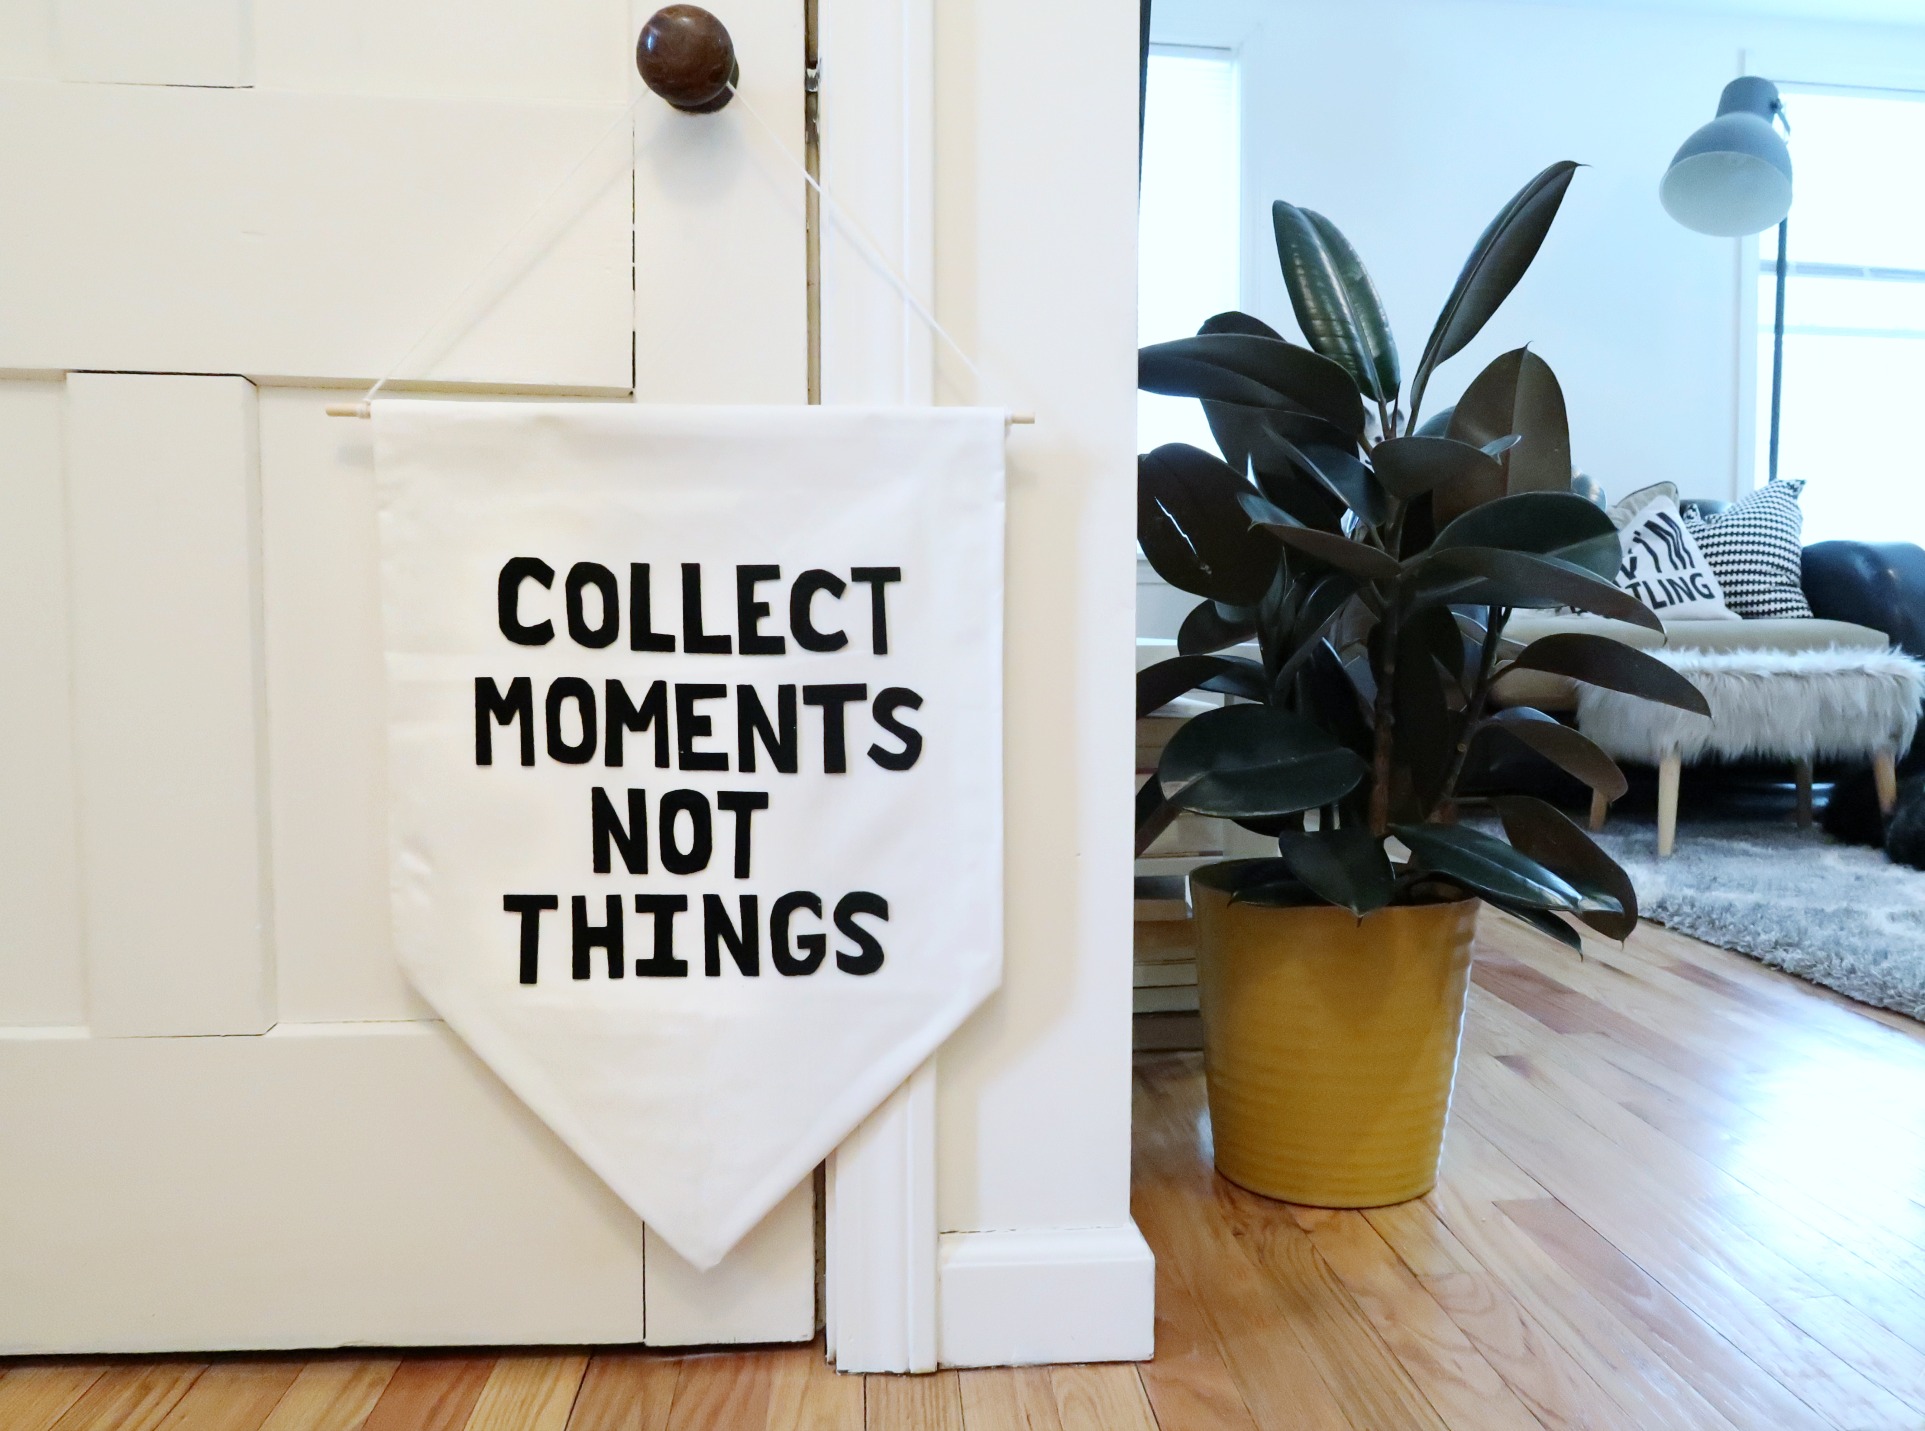
I am so happy with the way this came out. I have extra supplies and just might have to make a few more. Enough to get my husband to start asking me, “how many hanging wall things do we need?” The number is limitless dear husband, limit-less.
Plus, I can’t believe how easy and quick it was! I was able to make the entire thing in under 2 hours.