Getting started on video can be really overwhelming. There is a lot to try to tackle at once. There are cameras, lenses, audio, lighting, editing. How do you know where the heck to start?!
When I started making videos on my YouTube channel, I had an $80 video recorder that I propped up on a pile of books to record. As I started to make some revenue on my channel, I invested it back into my channel to get the equipment I have now. To me, these products have helped me grow my channel and position myself as a more professional influencer. But, the point I’m trying to make is you don’t need to have all this equipment or the best equipment to get started. Start with what you have and add as you go. A lot of what you’ll be doing with your first sets of videos is just learning the ropes, practicing being on camera, and editing.
This guide I wrote will hopefully help you sort through some of the endless lists of products. All the filming, editing, lighting, and audio I do on my channel is done by me. So, I’ve gone through a fair share of products I liked and didn’t. So, here I share the products I think are great for those who want to make amateur videos but aren’t looking to learn how to be professional videographers. These, to me, are the products that do what you need without requiring a professional to make them work.

Cameras
The most obvious piece of blogging equipment is a camera. I’ve always been a strong believer that you do NOT need to spend a ton of money getting a fancy camera to start filming videos. In my opinion, a lot of what you’re going to be doing at first is learning. There’s a learning curve associated with making videos from filming to editing, etc. So, it’s fine to start with whatever you have available to you -even just your cellphone. Like I mentioned, when I started I was using an $80 camera I had propped up on top of a pile of books in front of my window. So, start with what you have.
That being said, eventually, you’ll want to invest in a higher quality camera and lens once you’re ready to take the next step with your videos. Better quality videos are definitely going to make it easier to grow your channel and get new people to subscribe. Cameras are hard because they can range so much in price, it’s hard to know what’s right. Personally, I don’t think the everyday vlogger needs some over-the-top expensive camera. There are some great options out there under $600
Personally, I currently use the Canon M50. This camera cost about $600 and I upgraded to this lens for $200. If you’re looking for a good in-depth list of some great vlogging camera options, check out this post.
Things to consider with your vlogging camera:
- Screen– A flip-out screen is ideal so you can see yourself when filming to make sure you’re in frame/focus.
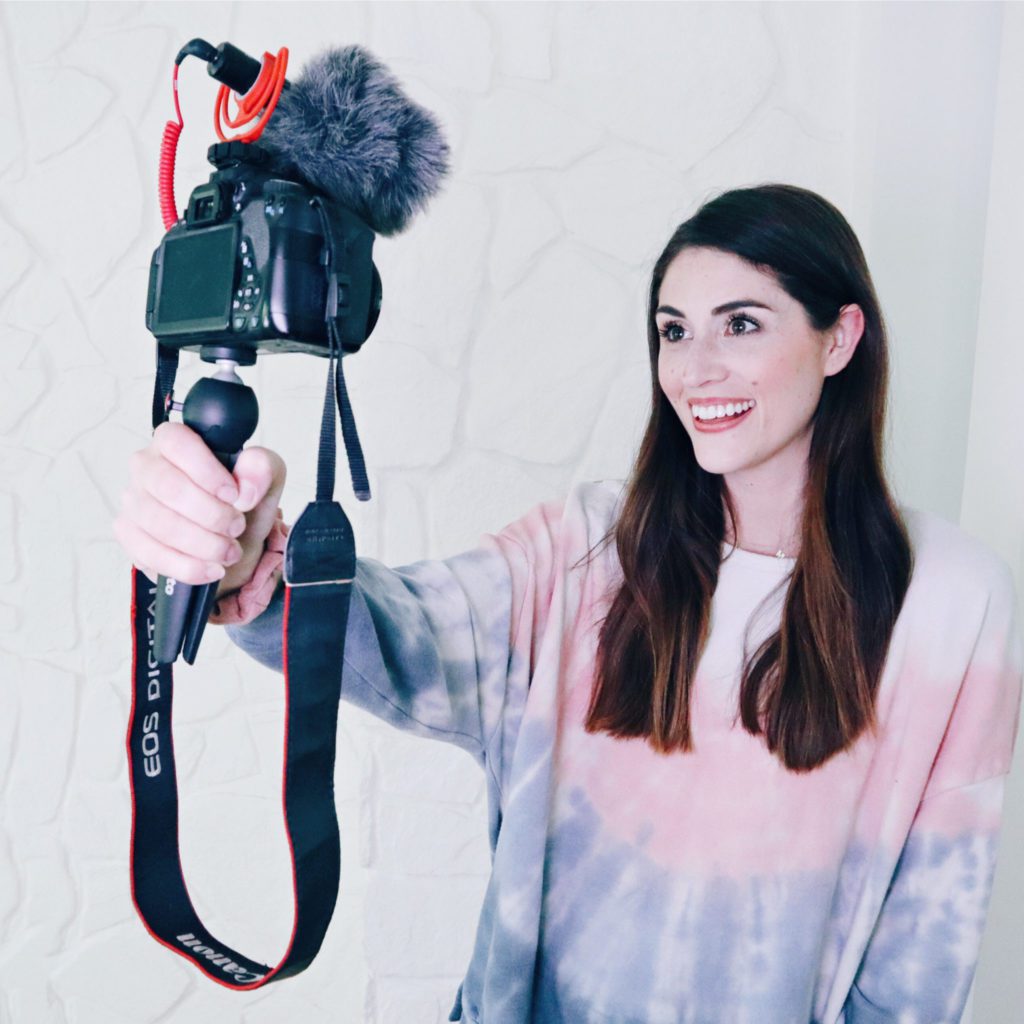
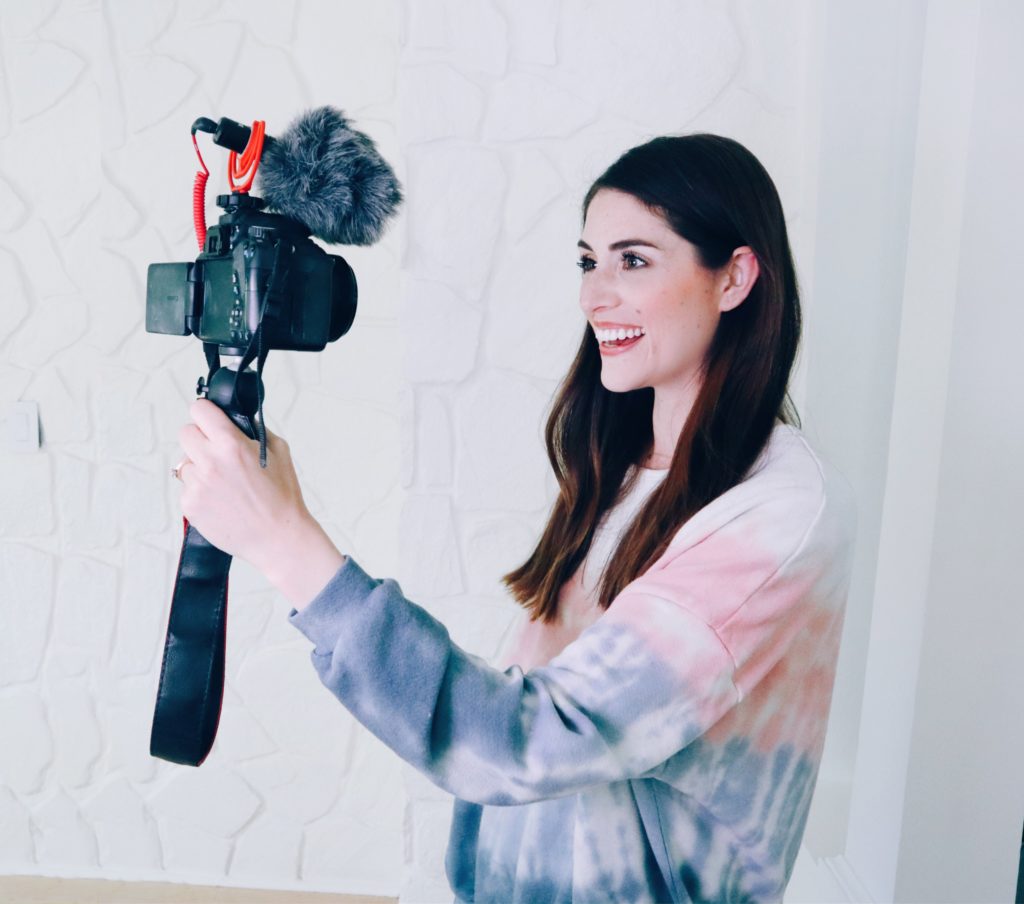
- Audio Jack– I HIGHLY suggest a camera with an audio jack. Almost all cameras will have a built-in mic, but they are pretty mediocre and you can buy an inexpensive mic for much-improved sound (see below)
- Lens compatibilities– You have two options for lens, either a camera with a lens built-in or a camera with a lens mount (which allows you to switch between lens.) A built-in lens is a great option if you are new to filming, plus it typically saves you on size so they are much smaller. If you want more flexibility, a lens mount is ideal because you can add different lenses to your collection.
- Size – Vlogging cameras come in so many sizes and larger doesn’t always mean better. It really depends on your needs and I personally find the bigger ones to be harder for general vlogging because they are bulky. I switched from a larger DSLR to a mirrorless.

The Camera I Use: Like I said, I use the Canon M50. It’s a mirrorless camera so it’s not too bulky in size, but had a lens mount allowing me versatility with my shooting. It also has a flip-out screen and audio jack. For me, it’s an ideal vlogging camera. You can also buy it as a kit, which comes with some other accessories you might need – these kits are usually a great deal if you’re just getting started.
Lighting
Even just for the most simple videos, good lighting can make all the difference. And, there are a lot of options that aren’t that hard to utilize:
Ring Light – This is probably what I’d suggest to most people just getting started, particularly if you’re doing mostly “talking head” filming (aka, you looking at the camera).The way this type of light works is its a circle of light and you put whatever you’re recording with in the middle. They are great because they light your face all around and give a well-lit subject so you look professional and no weird shadows. Most of these come as a package deal with a tripod, since your camera sits in the middle. They also have ones for phones if you’re shooting on a phone.
Umbrella Lights: Umbrella lights are great because they are pretty affordable and easy to use. The light is diffused by the umbrella so it’s not too hard to get a decently-lit shot. Their downsides are that they are kind of bulky (with the stand and umbrella they take up a lot of space). Additionally, you can’t control the light as it’s just a single bulb. Personally, not my top choice for these reasons but can be good for beginners.
LED panels – This is what I use. I bought two Genaray SpectroLED Essential 360 Bi-Color LED Light panels, with two stands for each. They are a little more pricey, you’re looking at maybe $500-$600 for a set of two like I have. You can get ones that are a little more on the save side around $200. But, for filming the type of video I do they have been a game-changer. The LED lights are controllable so you can turn up or down the brightness with a dimmer from 0-100%. While they certainly aren’t small by any means, I find them easier to work with than the umbrellas because they are thinner. Having these in my collection means I pretty much never have to worry about being well lit for video or photos. I can control my lighting in most situations.
Tripod
A tripod is usually a must-have item unless you like fighting to find the right table to balance your camera on only to get a bad angle. I upgraded to the Manfrotto MT055XPRO3 with MVH502AH video head last year, but depending on the work you’re doing you don’t need something so heavy duty. You can get basic tripods for $20. Obviously, a tripod allows me to set up to film my YouTube videos and get any b-roll shots.
The reason I love my Manfrotto MT055XPRO3 is that the middle bar comes all the way up and out so I can set it at a 90-degree angle and shoot directly from above. This is great for DIY, cooking, or time-lapse videos.
I also suggest a handheld mini tripod. These are perfect for on-the-go shooting, and can often be used as a tabletop tripod in a pinch.
Audio
Audio REALLY depends on the type of filming you’re doing. But, in my opinion, spending a little money and effort on a proper mic can make all the difference. Most built-in mics on our cameras or phones aren’t very good. Not to mention, they’ll pick up a ton of background noise.
Lav Mic (lavalier) – If you’re doing filming where you’re moving a lot or not standing all that close to the camera, you might want a mic that is attached to you instead of the camera. That way if you are too far from the camera or turn away from it, you’ll still get ideal audio. I simple lav mic like this works great – again one side plugs into the audio jack and the other clips to you. If you don’t want to worry about being tethered to the camera with long wires, I highly suggest a Rode to Go. It has one piece that plugs into the camera and one piece that clips to your body and plugs into the lav mic. I use this setup if I’m filming out and about – like at a store and it’s a game-changer.
Editing
One big question I always get about making videos is – what should I edit on?!
I’ve only ever edited on Macs, so I don’t have tons of personalized tips. I used iMovie which comes free with a Mac and it’s super easy to use, so I definitely suggest it. Here’s a post on some other free video editing software.
Now I use FinalCutPro which is great, but not ideal if you’re brand new because it has A LOT of bells and whistles. I suggest starting on something simpler first and when you’re ready, upgrade. When you are ready, you can get a free trial of FinalCutPro.